WooCommerce WhatsApp Plugin
WooCommerce WhatsApp Plugin – Installation & Setup Guide
Step 1 – Download WooCommerce Plugin
Go to the Plugins section in your WhatsMe dashboard and download theWooCommerce Plugin.

Step 2 – Install the Plugin in WordPress
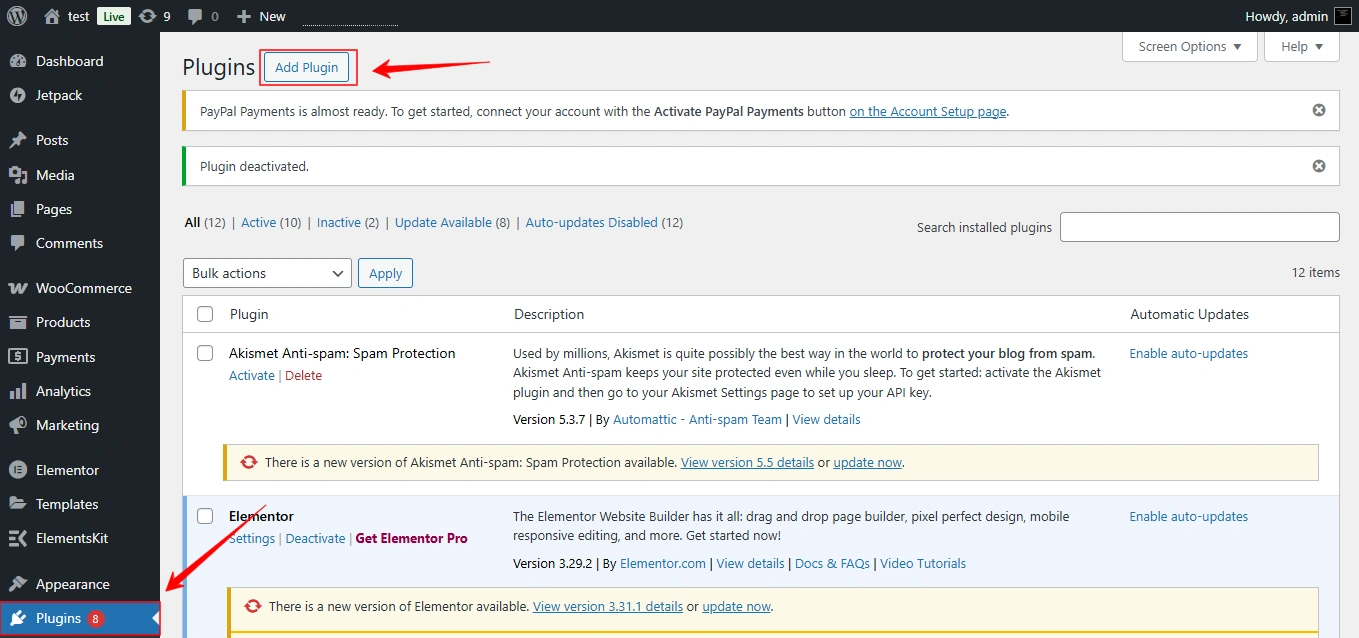
In your WordPress dashboard, navigate to Plugins → Add New → Upload Plugin.
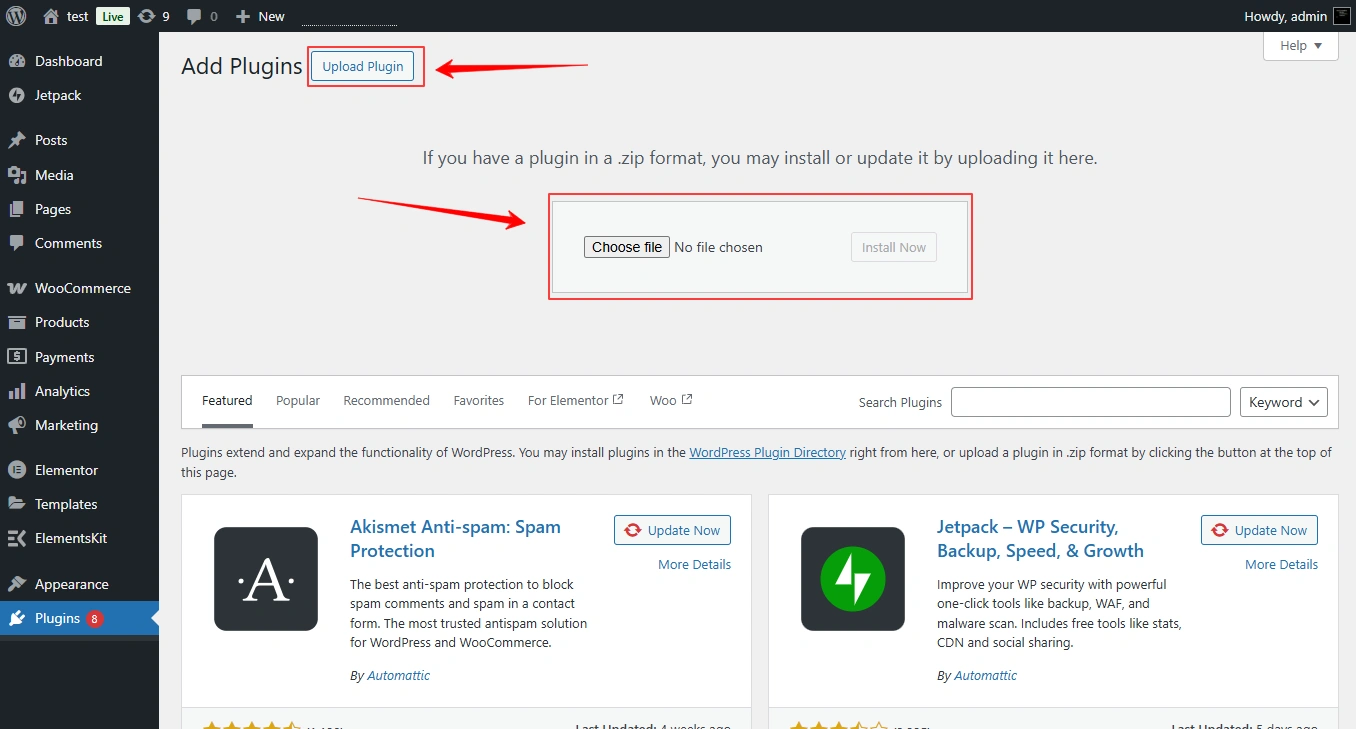
Step 3 – Upload Plugin
Upload the WhatsMe plugin file you downloaded.
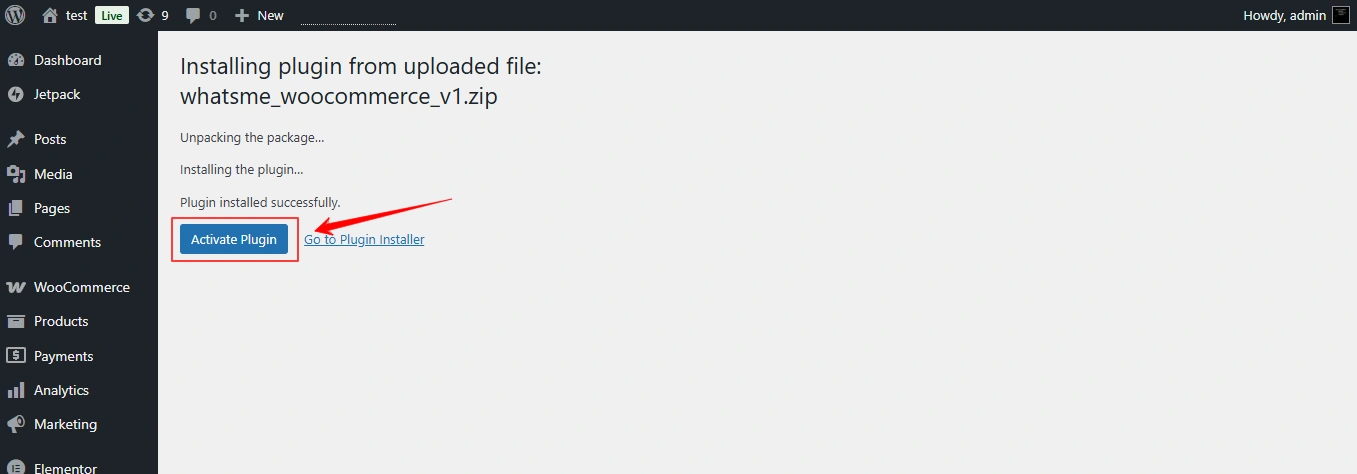
Step 4 – Activate the Plugin
Once the installation is complete, click the Activate Plugin button.
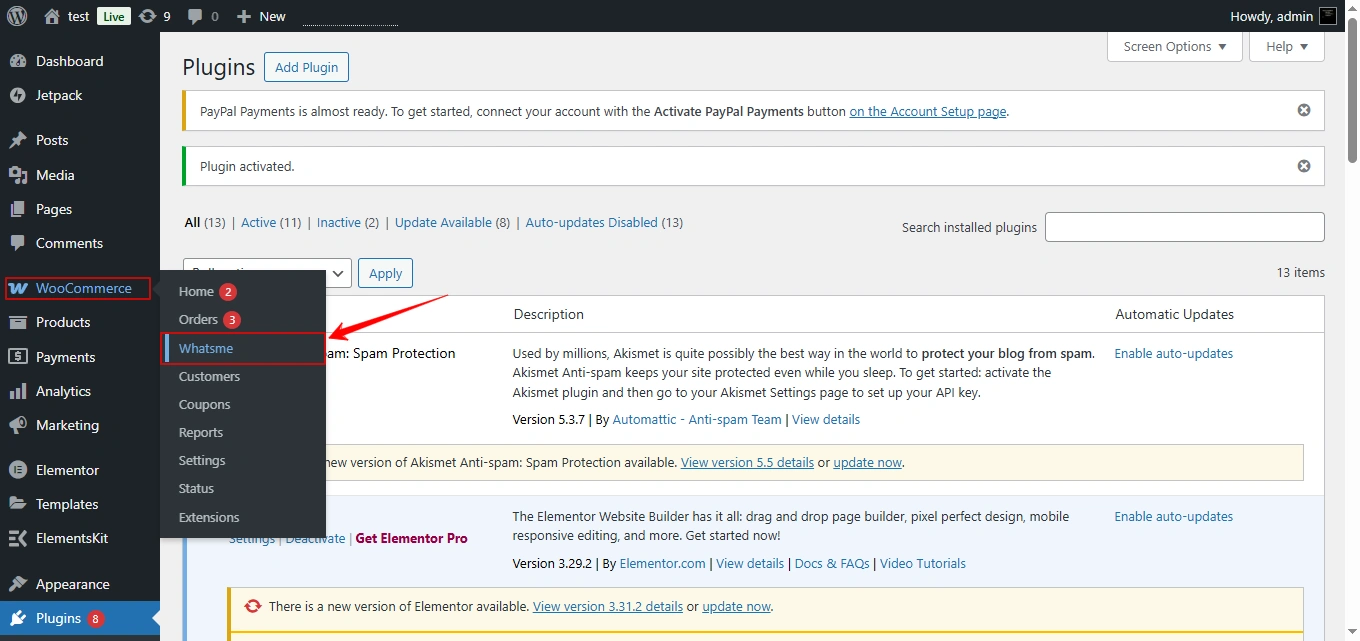
Step 5 – Access WhatsMe in WooCommerce
In your WordPress dashboard, hover over WooCommerce and select WhatsMe from the menu.
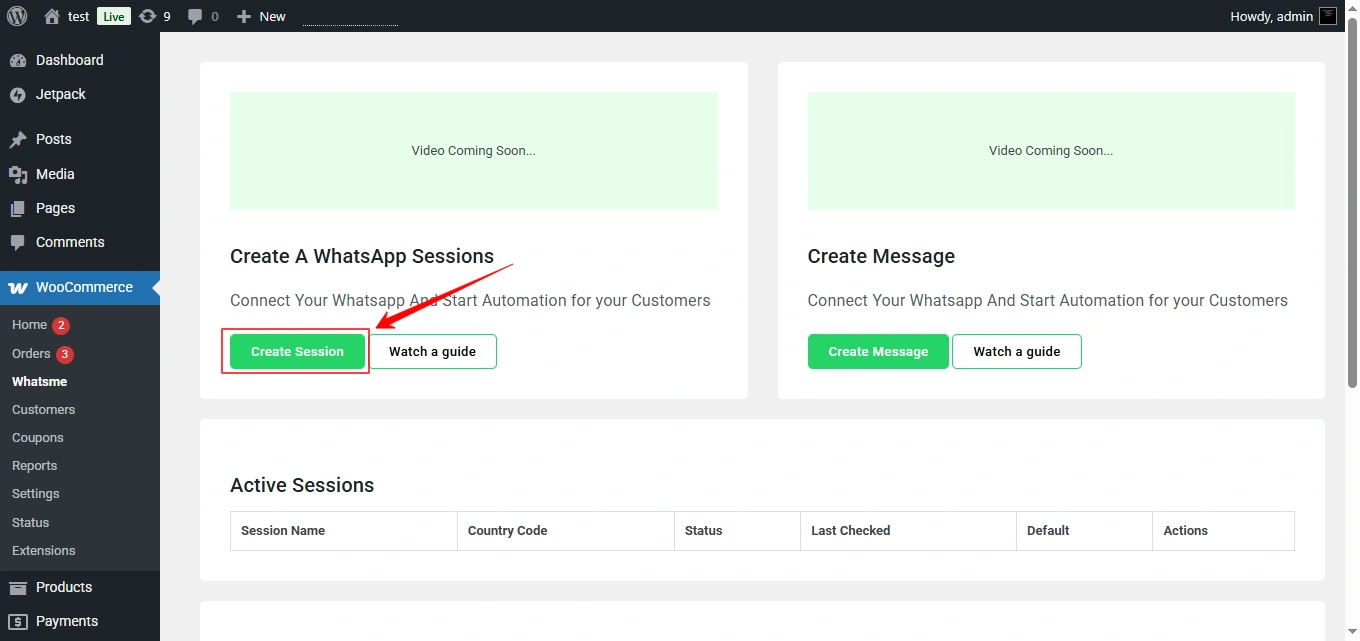
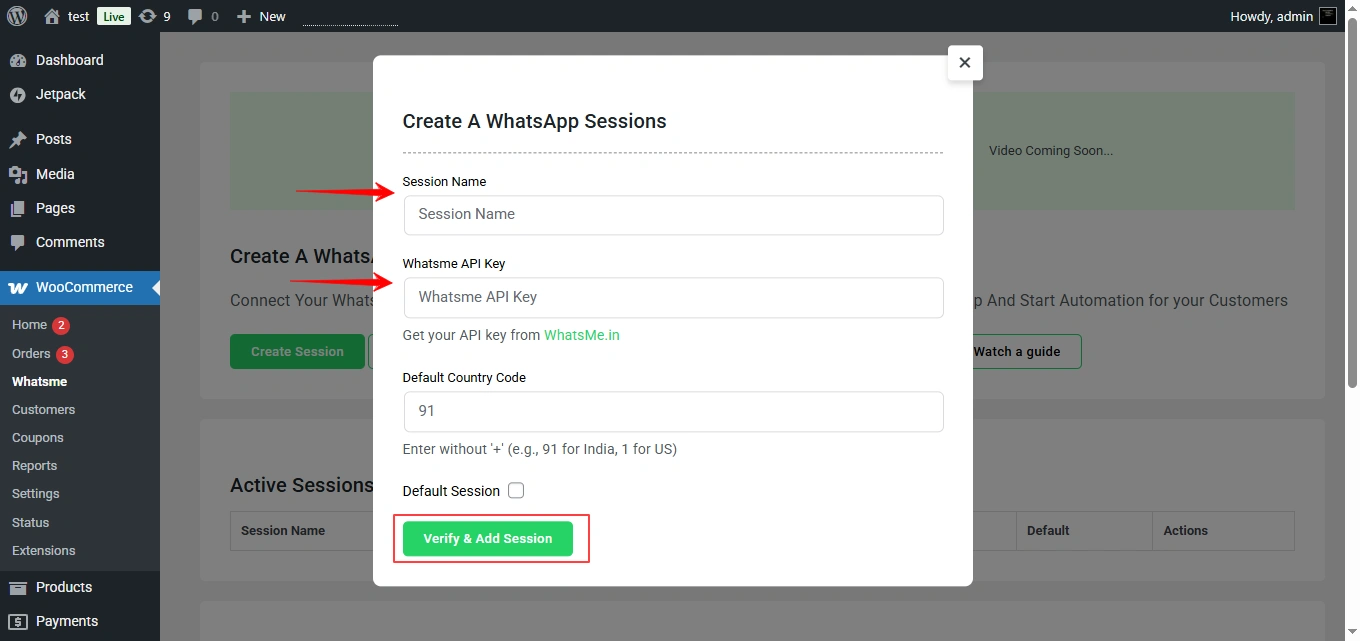
Step 6 – Create a WhatsApp Session
- Click Create Session.
- Enter a Session Name.
- Paste your WhatsMe API Key.
- Click Verify & Add Session.
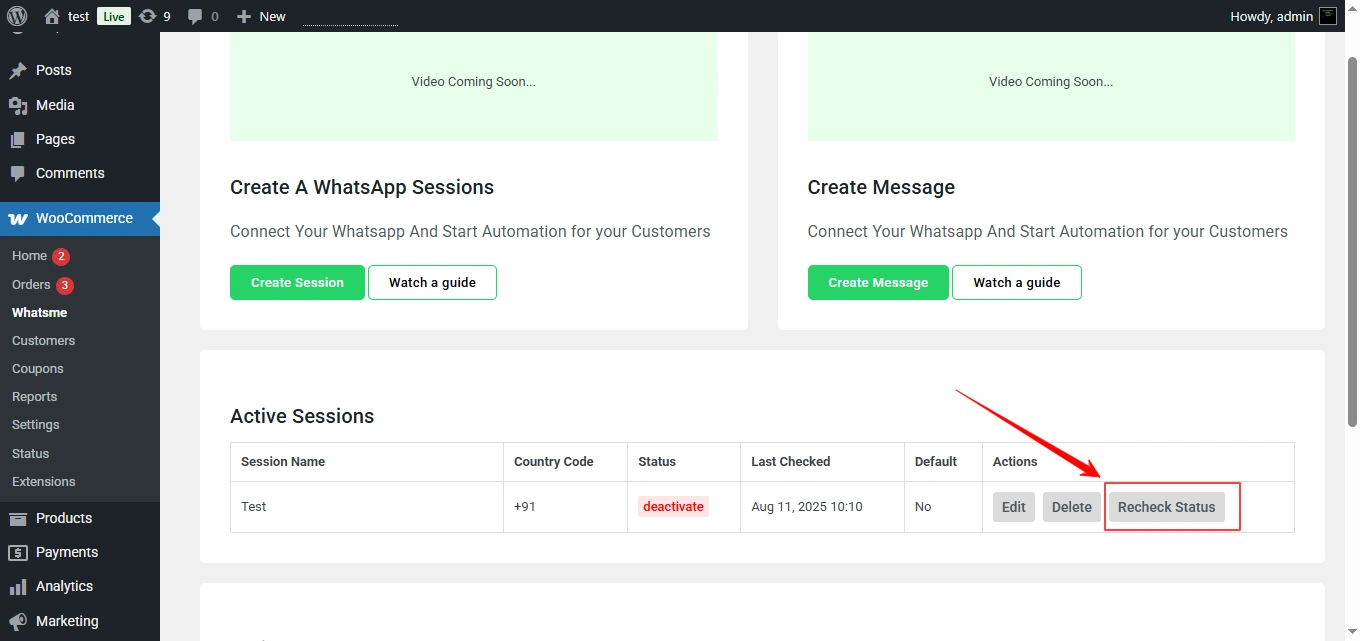
Step 7 – Recheck the Session
Click the Recheck button to confirm the session connection.
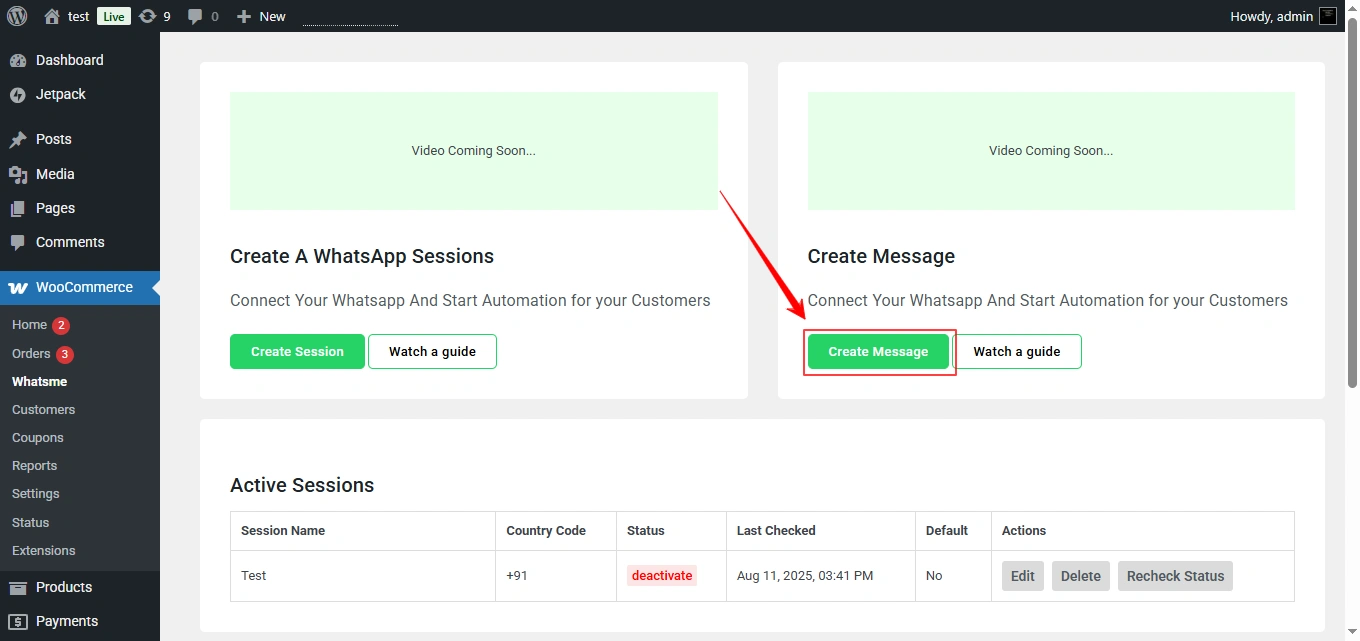
Step 8 – Create a Message Template
- Click Create Message.
- Enter your message in the input field.
- Use dynamic variables How to use dynamic variables?
- If needed, attach a document or media file.
- Click Save Template.
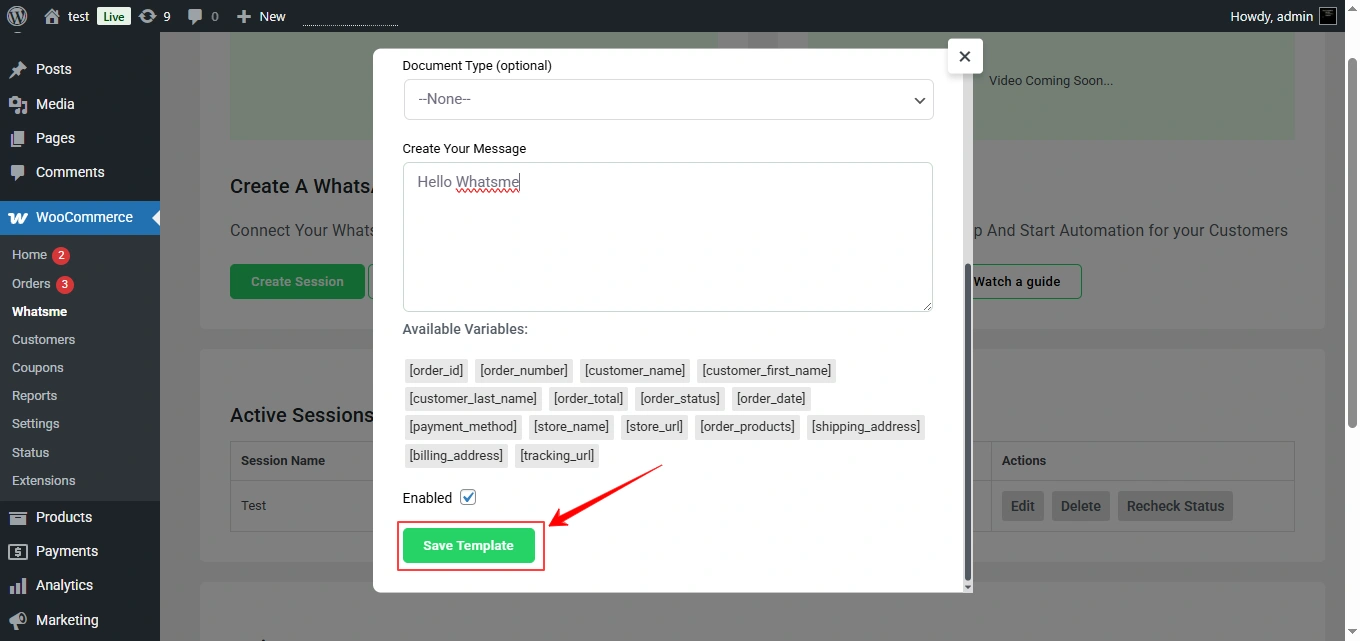
How to Use Dynamic Message
Examples of available variables:
| Header Name | Header Value |
|---|---|
| [customer_name] | Inserts the customer’s full name. |
| [order_number] | Inserts the customer’s order number. |
| [order_total] | Shows the total amount of the order. |
| [order_status] | Displays the current status of the order. |
| [store_name] | Shows your store’s name. |
| [tracking_url] | Adds the tracking link for shipment. |